
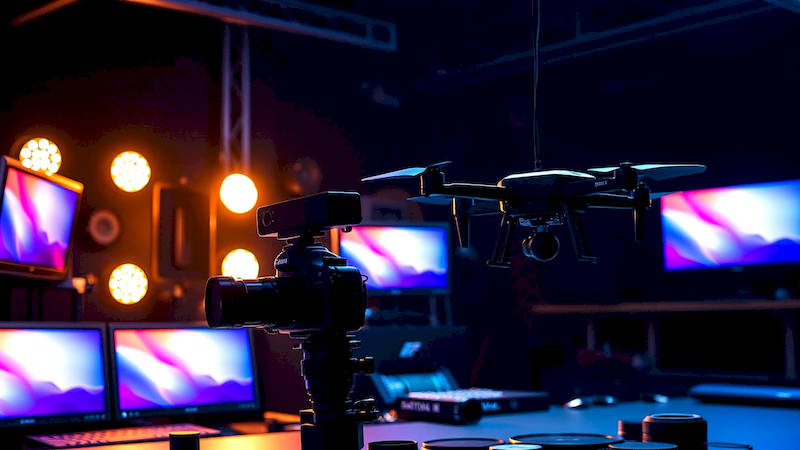
How to Create Cinematic B-Roll Using a Slider and a DSLR
The world of video content is exploding. From YouTube and Instagram to corporate marketing and filmmaking, professional-looking visuals are no longer a luxury – they're a necessity. While a solid narrative and compelling audio are paramount, it’s the visual aesthetic that often captures and holds an audience’s attention. One of the most effective tools for achieving a polished, cinematic look is skillful B-roll footage. But simply pointing a camera and recording isn't enough. Mastering the art of cinematic B-roll requires understanding composition, movement, and utilizing the right gear. This article delves into how you can leverage a slider and your DSLR to create stunning, professional B-roll that elevates your video projects.
B-roll, often defined as supplemental footage intercut with interviews or main shots (A-roll), serves multiple crucial purposes. It establishes location, provides visual context, covers jump cuts in interviews, and adds an overall layer of visual interest. Today’s viewers are highly visually literate and demand dynamic, engaging content. Static shots simply won't cut it. Incorporating smooth, controlled camera movements achieved with a slider is a key technique to meet these expectations. This isn’t just about aesthetics; effective B-roll can subconsciously guide the viewer’s eye and reinforce the emotional impact of your story.
This guide provides a comprehensive overview of how to shoot cinematic B-roll using a slider and DSLR, from understanding the gear itself to mastering techniques and post-production considerations. We'll cover everything from choosing the right slider and camera settings to crafting compelling compositions and smoothly executing your shots. Let's unlock the potential of dynamic visual storytelling.
- Understanding Your Tools: Sliders and DSLR Capabilities
- Mastering Composition: The Foundation of Cinematic B-Roll
- Executing Smooth Slider Moves: Technique and Practice
- Lighting and Color Grading: Enhancing the Cinematic Look
- Utilizing Different B-Roll Shot Types for Storytelling
- Conclusion: Elevating Your Videos with Cinematic B-Roll
Understanding Your Tools: Sliders and DSLR Capabilities
Before diving into techniques, it’s vital to understand the capabilities of your equipment. A slider, at its core, is a platform that allows your camera to move smoothly along a linear axis. They come in a variety of lengths, materials (aluminum, carbon fiber), and weight capacities. Shorter sliders (under 24 inches) are ideal for tabletop work, product shots, or tight spaces. Longer sliders (36 inches and up) provide more dramatic movement and are better suited for establishing shots or tracking subjects. Consider your shooting style and typical subjects when choosing a size; versatility is often key. The quality of the slider mechanism is crucial – look for fluid ball bearing systems for the smoothest possible movement.
Beyond the slider itself, your DSLR's settings play a significant role. Shooting in manual mode provides full control over aperture, shutter speed, and ISO, allowing you to consistently achieve a cinematic look. A shallow depth of field (achieved with a wider aperture, like f/2.8 or f/4) is often used in B-roll to isolate subjects and create a dreamy, artistic feel. Experiment with different apertures to find what suits your vision. Crucially, ensure your shutter speed adheres to the 180-degree shutter rule (typically twice your frame rate – e.g., 1/50th of a second for 24fps) to maintain natural motion blur. Don’t underestimate the power of a neutral density (ND) filter, particularly when shooting outdoors in bright conditions, allowing you to use wider apertures without overexposing your footage.
Finally, recognize your camera’s potential for log profiles (like Canon Log or Sony S-Log). These profiles capture more dynamic range, giving you greater flexibility in post-production color grading. While requiring more effort in post, the results are often worth it, enabling you to achieve a truly cinematic aesthetic. Mastering these settings will lay the foundation for creating professional-quality B-roll footage.
Mastering Composition: The Foundation of Cinematic B-Roll
Technical proficiency is important, but it’s useless without a strong understanding of composition. Cinematic B-roll isn’t just about movement; it’s about intentional movement showcasing aesthetically pleasing visuals. The rule of thirds is a foundational principle: divide your frame into nine equal parts with two horizontal and two vertical lines, and position key elements along those lines or at their intersections. This creates a more balanced and visually engaging composition. But don’t be afraid to break the rules! Experiment with symmetry, leading lines (roads, fences, rivers that draw the viewer's eye), and negative space to create dynamic and provocative images.
Beyond the rule of thirds, consider the psychological impact of different angles. Low angles can make a subject appear powerful and imposing, while high angles can convey vulnerability or a sense of observation. Eye-level shots are generally the most neutral and relatable. Using a slider allows you to explore these angles dynamically. For instance, starting with a low-angle reveal of a building with a smooth slider move can create a sense of grandeur, while a slow slider move from a close-up detail to a wider establishing shot can build anticipation. Think about the story you want to tell within each B-roll shot, and let composition be your visual language.
Furthermore, pay attention to the background. Avoid distracting elements that pull the viewer’s attention away from the main subject. Utilize depth of field to blur unwanted elements while keeping your focal point sharp, and carefully consider the colors and textures within the frame. A clean, uncluttered background creates a more polished and professional look.
Executing Smooth Slider Moves: Technique and Practice
The key to cinematic B-roll lies in the smoothness of your slider movements. Jerky or uneven motion immediately detracts from the professional aesthetic. Start with proper setup. Ensure your slider is level, and the camera is securely mounted. Invest in a good ball head and quick-release plate for easy adjustments. Before hitting record, practice your moves – multiple times. Visualization is key: rehearse the entire shot in your head, mapping out the start and end points, speed, and overall feel.
When recording, aim for slow, deliberate movements. A common mistake is moving the slider too quickly. Slow and steady generally yields the most cinematic results. Alternatively, consider the "reveal" - slowly uncovering a subject as the slider moves. Another effective technique is a parallax effect, where the camera moves at a different speed than the background, creating a sense of depth. A good starting point is a move lasting between five to ten seconds, which allows time for the shot to breathe. Use a remote shutter release or your camera’s self-timer to avoid shaking the camera when starting and stopping the movement.
Don’t be afraid to experiment with different speed ramps – starting slow and gradually speeding up, or vice versa. These variations can add a dynamic touch to your B-roll. Remember, practice makes perfect. The more you use your slider, the more intuitive and precise your movements will become.
Lighting and Color Grading: Enhancing the Cinematic Look
Even the smoothest slider move and the most aesthetically pleasing composition can fall flat with poor lighting. Natural light is often the most flattering, but it can be inconsistent. Utilize reflectors to bounce light and fill in shadows, and consider using a diffusion filter to soften harsh sunlight. If shooting indoors, invest in some basic lighting equipment, such as a softbox or LED panel. Pay attention to the direction of the light – side lighting can create dramatic shadows, while front lighting provides a more even illumination. Aim for a consistent color temperature throughout your B-roll footage to avoid jarring transitions.
Color grading is the final step in achieving a cinematic look. Utilizing software like Adobe Premiere Pro or DaVinci Resolve, you can manipulate the colors and tones of your footage to create a specific mood and aesthetic. Start by adjusting the white balance to ensure accurate colors. Then, experiment with contrast, saturation, and highlights to create a visually appealing image. A common technique is to add a slight teal and orange color grade, which is often associated with cinematic films. Look at the color palettes of your favorite films for inspiration and try to recreate those looks in your own footage. Consistency in color grading across all your B-roll footage is crucial for a polished final product.
Utilizing Different B-Roll Shot Types for Storytelling
Cinematic B-roll isn’t limited to just one type of shot. Diversifying the types of shots you capture will add depth and dynamism to your video. Establishing shots, which show the overall location, are crucial for setting the scene. Detail shots, focusing on specific objects or textures, can add visual interest and support the narrative. “Cutaway” shots, showing an action related to the main subject but not directly involving them, provide coverage for jump cuts. Reaction shots, capturing people's emotions, add an emotional layer.
The slider excels at all these types of shots. For example, a slow slider move revealing a bustling city street is an excellent establishing shot. A close-up detail shot of hands working on a project, captured with a slider, can provide visual texture. Using the slider to smoothly transition from a wide shot to a detail shot creates a more engaging visual experience.
Think about how each shot contributes to the overall story. Each piece of B-roll should serve a purpose, either to provide context, enhance the mood, or cover editing transitions. Don’t just shoot random footage; shoot with intention.
Conclusion: Elevating Your Videos with Cinematic B-Roll
Creating cinematic B-roll with a slider and DSLR is a powerful technique for elevating your video content. By understanding your gear, mastering composition, practicing smooth slider movements, and paying attention to lighting and color grading, you can transform ordinary footage into visually stunning and engaging B-roll. Remember that consistency is key – maintain consistent color grading and a clear visual style throughout your project to create a cohesive and professional look.
The key takeaways are to prioritize smooth, deliberate movements, compose shots with intention using principles like the rule of thirds and leading lines, and utilize your camera’s settings to achieve a cinematic aesthetic. Don’t underestimate the power of post-production color grading to enhance the mood and tone of your footage. The next step is to go out and practice! Experiment with different techniques, angles, and lighting setups. The more you shoot, the more confident and skilled you will become. Armed with these tools and techniques, you’re well on your way to creating videos that captivate and inspire your audience.
Deja una respuesta